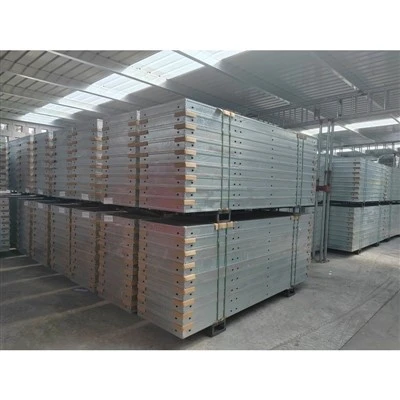
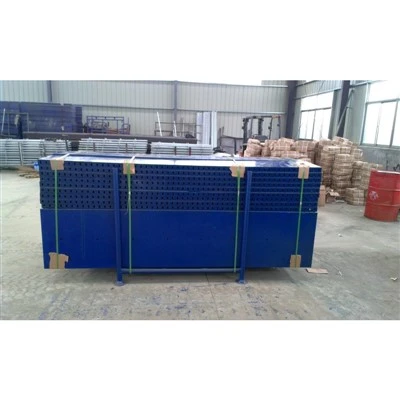
Practical scaffolding techniques often stem from a grasp of structural principles and refined on-site operational skills, enabling faster, more stable, and safer erection. Experience shows that mentally or on paper, planning the overall layout before starting is more efficient than directly installing poles. Selecting the scaffold type based on the working height, coverage area, and load requirements, and anticipating foundation conditions and nearby obstacles, reduces the time spent on mid-term modifications. After materials arrive on site, quickly sort qualified and unrepaired components, prioritizing the use of well-maintained members for key load-bearing sections. This ensures initial stability and avoids the exposure of risks from substandard components during high-altitude operations.
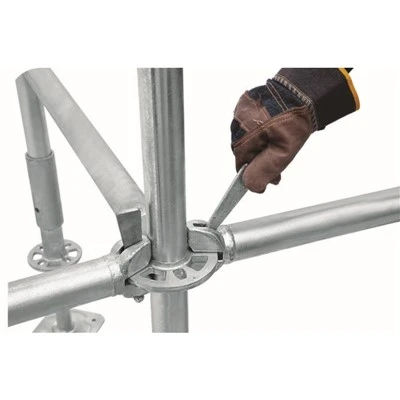
The key to the initial stage is establishing reliable benchmarks. Use a level or plumb line to determine the position and verticality of the first row of uprights, ensuring a square pattern between the bottom horizontal bars and uprights. This prevents the scaffold from accumulating deviations as it extends upwards. Lay horizontal bars according to the designed step spacing and promptly insert diagonal bracing to form triangular supports, giving each scaffold structure self-stabilizing capabilities even before it is connected to the wall. For node connections, both force and inspection are crucial. Fasteners should be tightened to a comfortable feel, with spot checks of torque applied. After the cup-lock bracket pins are in place, gently shake to confirm there is no looseness. For gantry splicing, align the holes before locking. These small actions significantly reduce the probability of later instability.
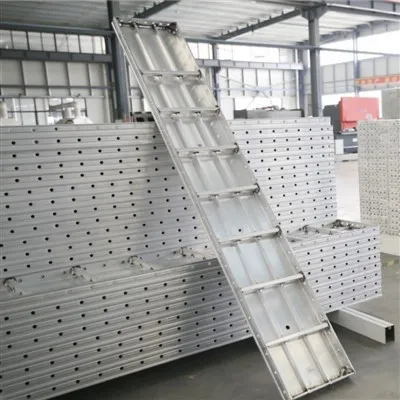
When facing irregular sites or crossing obstacles, flexible configuration adjustments are essential. For example, cantilever sections can be securely anchored using embedded parts or through-wall bolts. Short diagonal braces and wall ties can be added at corners to create localized reinforcement zones. Transition frames can be used to bridge different elevations at varying heights, maintaining smooth passage while avoiding stress concentration caused by rigid joints. Protective measures for the working layer should be implemented concurrently with the erection process. Scaffold boards should be fully laid and securely nailed, guardrails should be installed in one go, and safety nets should be hung layer by layer, eliminating the hassle of rework and fixing after completion.
The key to effective use lies in dynamic management. Daily inspections should focus on the tightness of nodes, visible deformation of members, and signs of foundation settlement. After strong winds or rain, special attention should be paid to checking the connections and fixation. Arrange load locations reasonably, avoiding concentrated material stacking or multiple people gathering in the same spot, to ensure a more balanced stress distribution on the scaffolding. For adjustable scaffolding, mastering the adjustment rhythm and limit device inspection methods can prevent structural damage caused by over-limit operation.
Dismantling techniques emphasize orderly reverse operation and component protection. Dismantle layer by layer from top to bottom, clearing people and materials before loosening poles, and avoiding overlapping work at different levels. Classify and stack dismantled poles according to specifications, and collect fasteners and pins together for convenient transportation and quick reassembly. Make time-saving, labor-saving, and risk-avoidance practices from each erection and use a habit; these meticulous techniques will make scaffolding work both stable and efficient.